

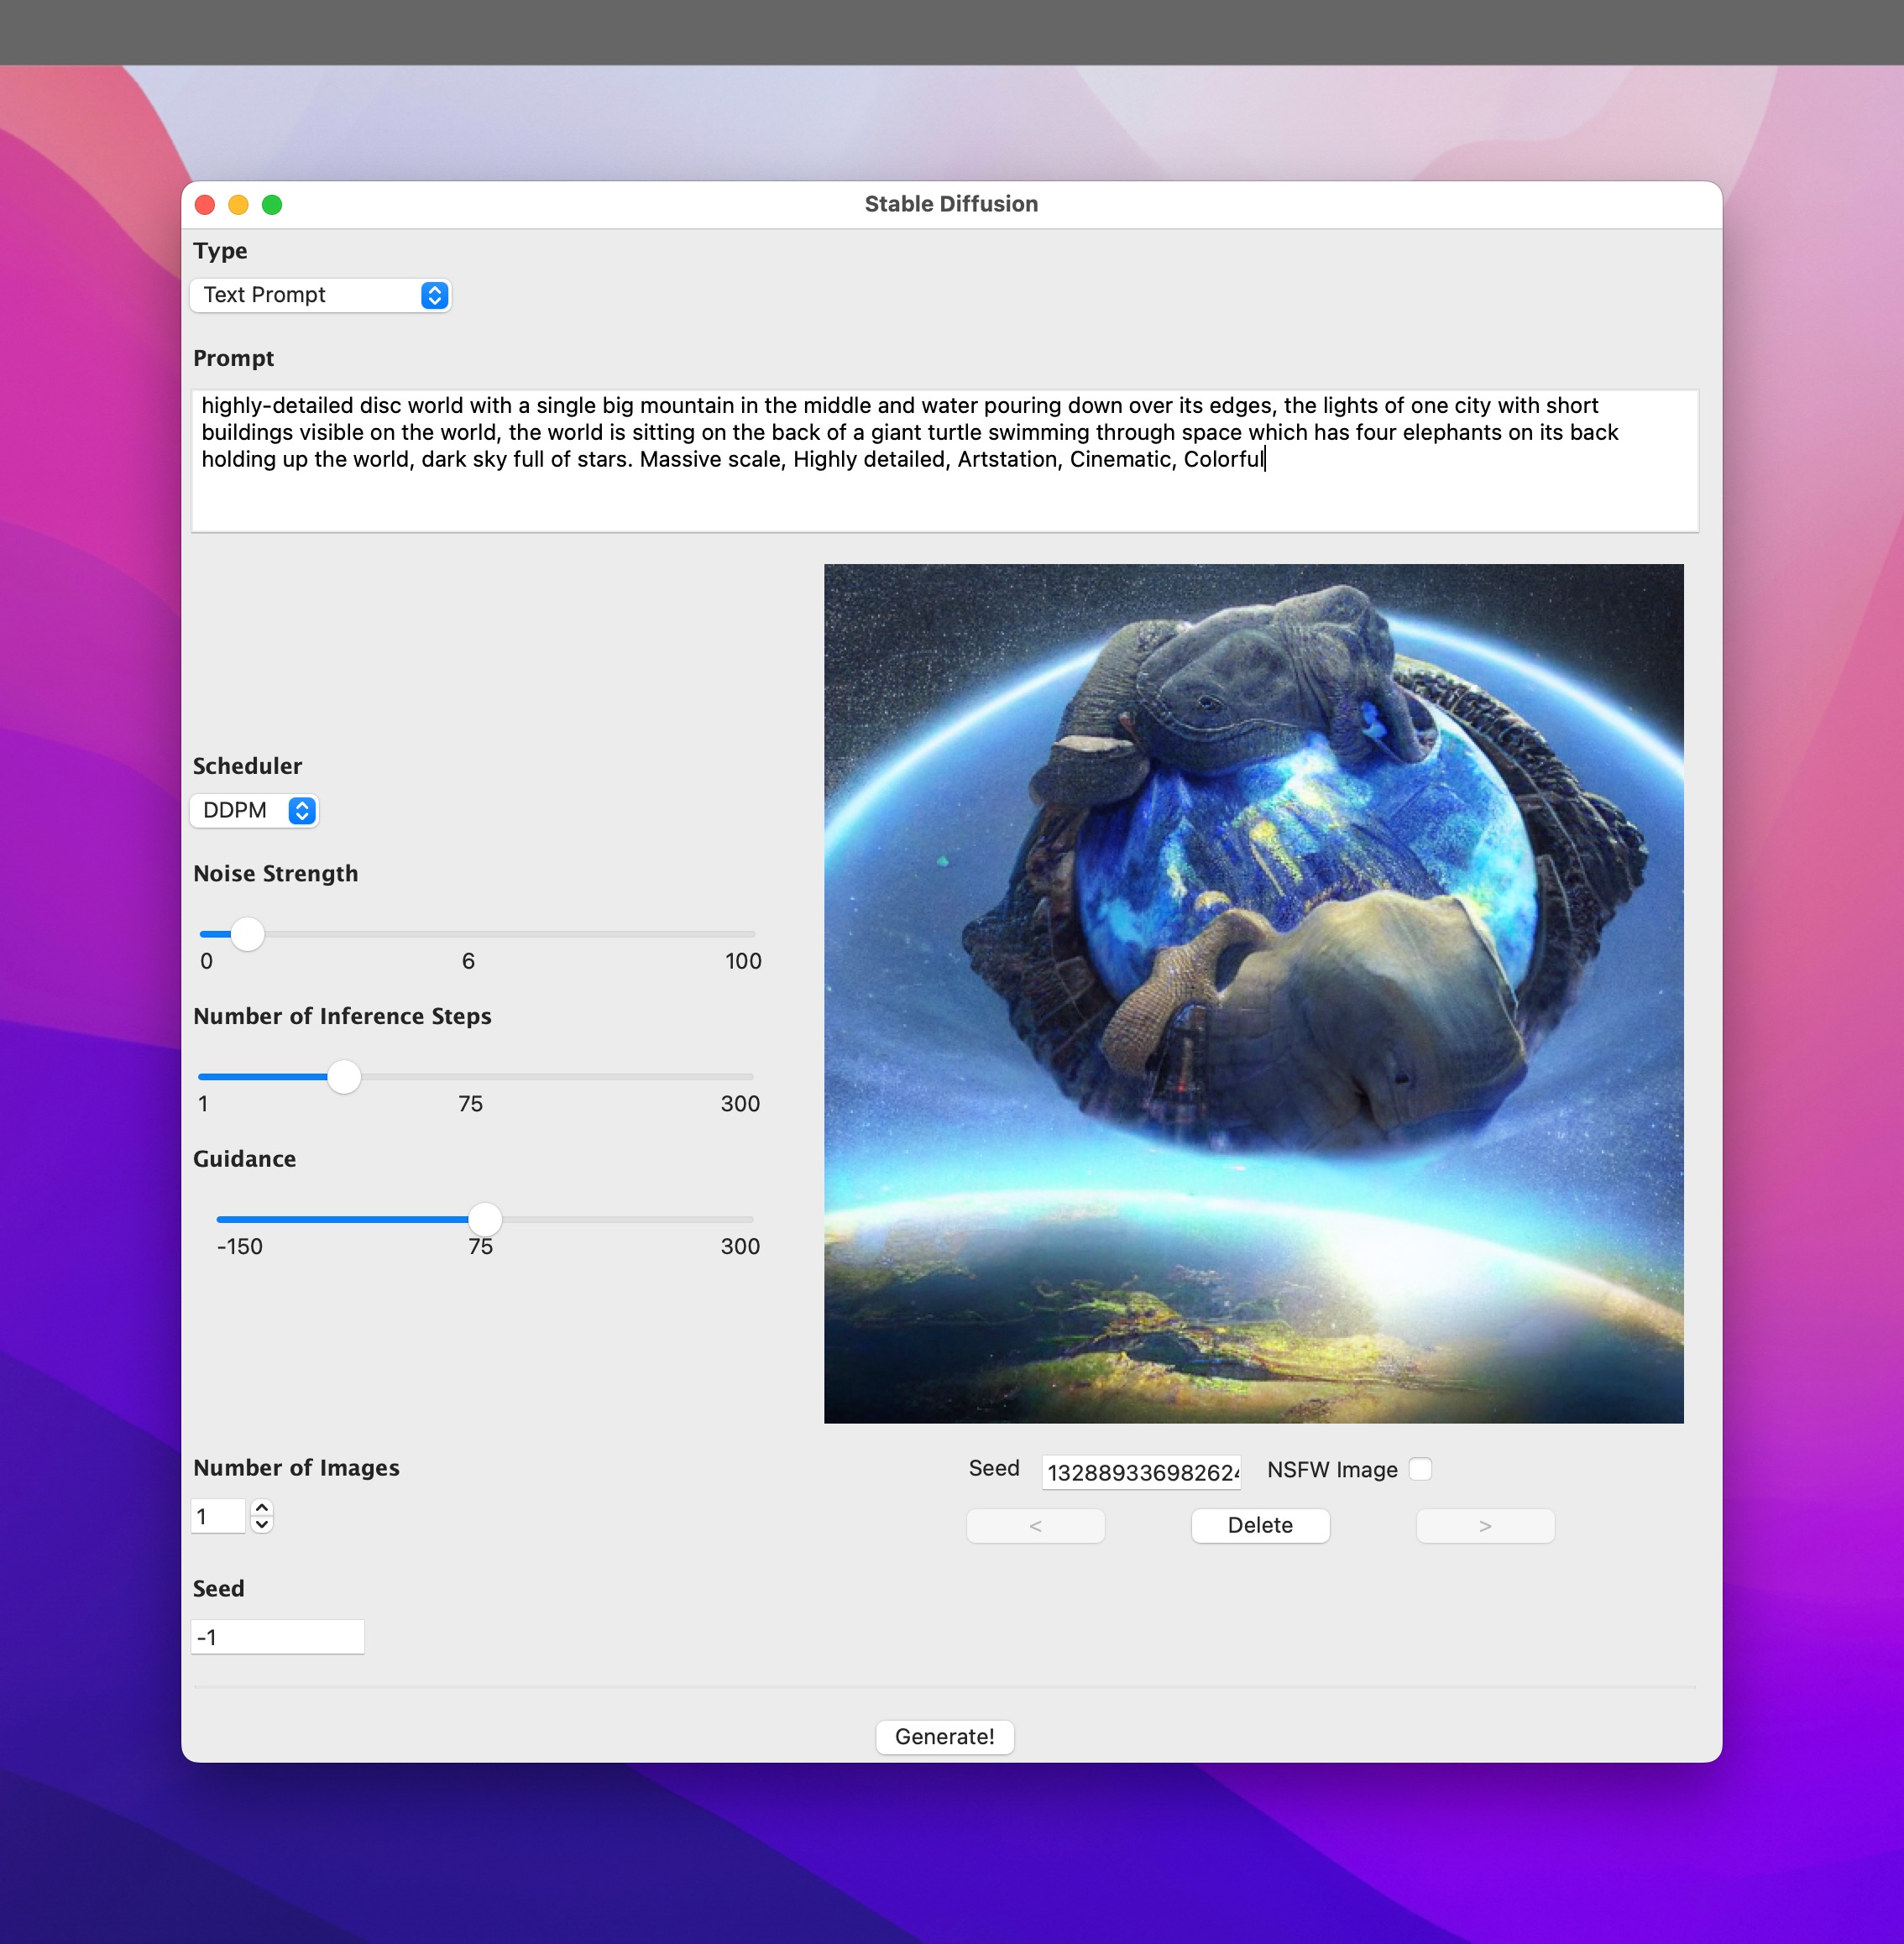
I’ve been writing a lot about Stable Diffusion (and image generation using AI) lately. That’s because providing a text prompt, getting an AI generated image back after a few seconds, and then improving upon your prompt to get the exact image you want can be so very addictive 🙂
But there’s a flip-side to the coin — those who can’t run AI systems like Stable Diffusion because their machines don’t support it. Where do they go to get some Stable Diffusion action?
In the case of Stable Diffusion, those generally left out are the ones who do not have a supported GPU on their machine. I was not able to run Stable Diffusion on my machine initially because I had an Apple Silicon device and they weren’t quite there in terms of Apple Silicon support yet. (If you are in that boat, you might want to check out this post where I explain how to get Stable Diffusion set up on an Apple Silicon machine quite easily …)
So, at first, I had to rely on Google Colab. If you aren’t familiar with Google Colab, but have worked with Jupyter Notebook, then you should be able to get up to speed fairly quickly since Google Colab is basically just a modified version of Jupyter Notebook running on Google hardware. Compared to working on my old Intel notebook (which was the only option I had due to the support issues for the Apple M1 chipset), Colab was way faster.
The only issue? Once you shutdown/terminate the Colab instance, all your files and data on that instance are gone. Sure, you can connect a Colab instance to your Google Drive (as an example) and transfer all your data to the Google Drive (or work off of folders on Google Drive itself if you set things up correctly) but still, it takes a few minutes to set up the environment for any work each time you start a new Colab instance — you have to (maybe) install the Python version you want, install the packages you need, get everything set up correctly, download the machine learning models you want to use etc.
That’s when I came across Amazon’s SageMaker Studio Lab (and yes, it does sound like an advert when I say it like that … but I’m not getting paid for this 😛)
One thing you have to know off the bat is that unlike Google Colab, which you can sign up for and get started with immediately, you have to request access to SageMaker Studio Lab (let’s call it SMSL from now on — way too much typing otherwise). Then you have to wait till somebody at Amazon (presumably) grants you access. In my case it took around four days before I was granted access.
Once I completed my sign up etc. I was greeted by a very clean, very white (not in race-terms but color-terms 😛) page with hints of purple everywhere. I must say that I really liked the look. Google Colab looks very utilitarian — all business — but SMSL looks a bit more inviting, at least to me.
What caught my eye immediately was this section on the main page:
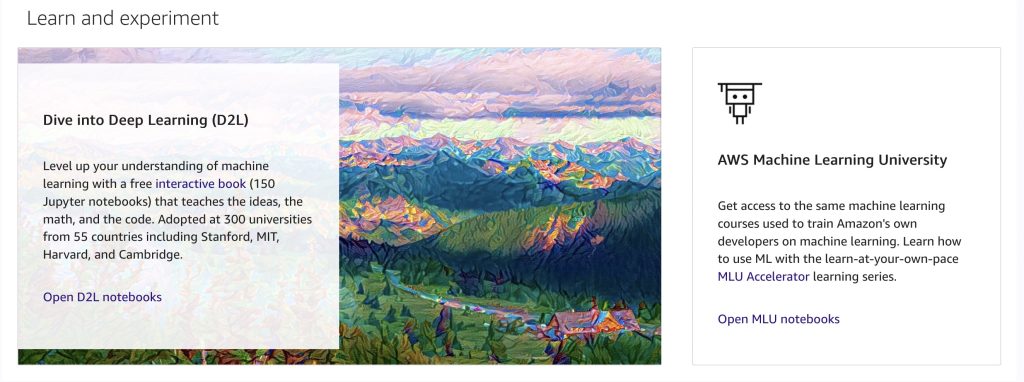
Note that this is a bunch of machine learning educational content all for free. I was really interested in this and intended to try them out at a later point, but for the time being I just wanted to try things out and see how everything worked.
One thing I noticed right off the bat was that SMSL tells you upfront how much usage you have left. With Google Colab, you can potentially use it as much as you want (even on the free plan) but you might not get access to a GPU instance if you use it too much, which is only fair since you are on the free plan. But the trouble is that I never know when I might get cut off since there is nothing indicating how much you’ve used and how much you have left.
SMSL shows you this information right there on the front page. It tells you how much CPU usage you have left — you get 12 hours at a stretch — and how much GPU usage you have left — you get 4 hours at a time and up to 8 hours over a 24 hour time period. Your project runtime will be stopped at the end of the specified time period (for example if you leave the project running and go away) but all your data will be automatically saved.
That is the other great thing about SMSL — your data and notebooks are persisted across sessions. This means that you can set up your runtime environment as you want, set up your packages, clone the necessary repos, do some work, shutdown your instance, and then come back a few days later and pick up from where you left off. You don’t have to set everything up again as you would have to with Google Colab. I haven’t used this functionality yet (I only got access today) but I am looking forward to testing this out and seeing how everything works.
You also get 15GB of storage and 16GB of RAM. And this is all for free. Did I mention that? 🙂 Amazon does have a paid version of Studio Labs which also has a free tier, but trying to figure out how much you can use the free tier etc. is not something I want to get into at this point.
I also checked out the D2L (Dive into Deep Learning) course mentioned in the screenshot I posted above and it looks very interesting if you would like to learn the fundamentals of deep learning by way of interactive lessons. I’m looking forward to going through those more in detail later.
So, if you’d like to try out some machine learning stuff for personal use (the terms of use say SMSL is just for personal use, not commercial) and want fast machines with at least some GPU time, or want to learn more about deep learning, it might not be a bad idea to apply for SMSL access and try it out.

1 thought on “Adventures in Imagineering – Where do the GPU-less go?”